First you need to do some preparations both with your material and the model.
Best is to begin with the model, as you can work with your wool while it dries.
Make sure that all things you probably wanted to change about the model’s pose are done, because this can’t be changed very well once you started hairing.
Take your reference photos and paint your model accordingly. This needs not be a master piece it is just supposed to help you to know which colour of hair goes where. (It is also helpful if the covering hair gets a bit thin in one spot – if the surface is painted in about the same hue of the hair, any bare spots won’t be glaringly obvious.)
Paint the eyes and snout to detail and gloss them (if you plan to do that), because with the hair on it will get hard to do it properly without messing up the hair.
If the colours you use won’t dry to a permanently fixed state, you need to finish the model as usual (laquer, fixation, whatever you use)
Set the finished model aside and let dry for as long as you usually do with a repaint.
In the meantime, your get your hairing material and the bigger scissors out. Set up little paper bags or glasses as a container for the hair colours before you.
Then you take a strand of the first colour between thumb and index finger of the hand not holding the scissors. Let only a tiny little bit of material peek over your thumb and cut. (Not the thumb! *g*)
Like this, you chop up the whole strand (or as much as is needed of the colour to begin with). Try to cut the "hairs bits" as tiny as possible.

(For detailed areas like the face even smaller than this)
You might need different lengths of hair-bits, depending on where on the animal you are hairing. The face usually gets the smallest and finest hair-bits, while the fur on top of the back can be longer, sometimes up to a centimeter or more. Again, this depends on your reference photos.
Like this, you prepare all your hair colours and put the fluffy little hair-heaps into the containers, so that your work won’t be in vain in case you sneeze or there is some sudden draught.
Tip:
For areas where two colours meet, you can create shading by mixing the two colours on the table until they blend nicely.
Before your pounce on your model now, take a few moments to envision the directions that the hair on a real animal has – by following some basic rules, your animal will not look weird or scruffy just because one started at the wrong end or into the wrong direction.
Meet the dog shaped object aka “DSO” which I quickly sketched to illustrate in which directions you have to work when hairing.
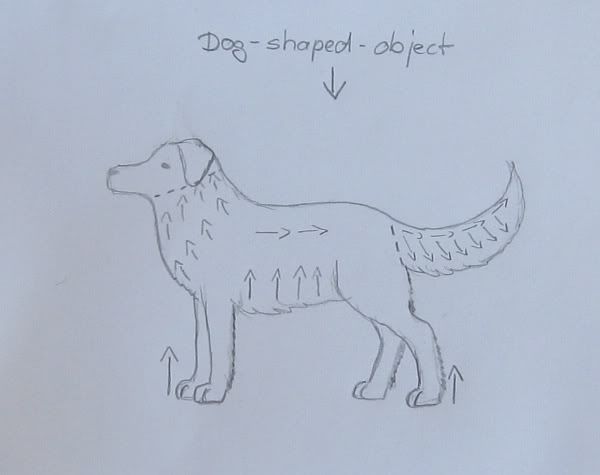
The head and the tail are divided from the body by little dotted lines, because you can do them last or first, just as you like. Leaving the tail for last does create a nice handle for your to hold the model, though.
Generally, you hair always upwards and toward the hindend.
Meaning you start at a paw and work your way up to the shoulder. Or on the body itself it means you hair from snout-end to tail-end and always always start under the animal, working your way up. (I.e. starting at the middle of the tummy and going up the side until you reach the spine)
The little arrows on DSO may help with that idea a bit.
A quick transformation of the no-name pony “Brownie” into a very hairy Shetland Pony:
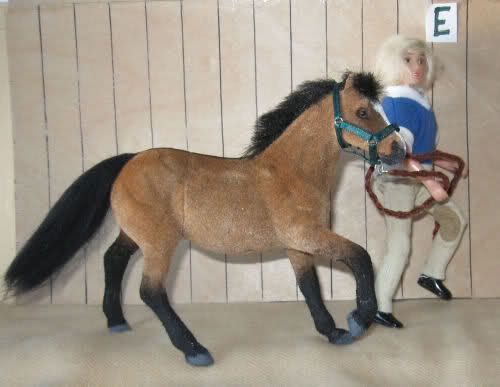
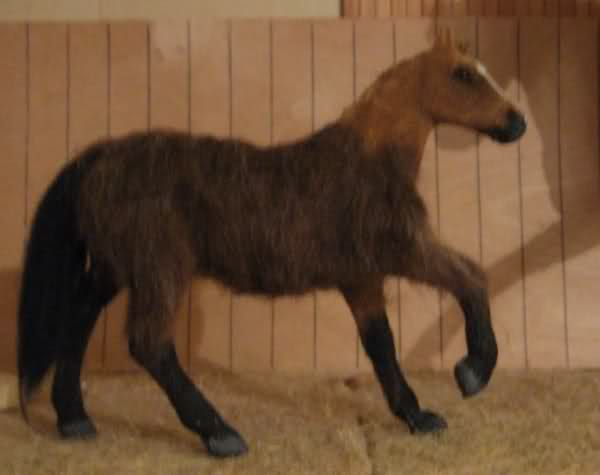
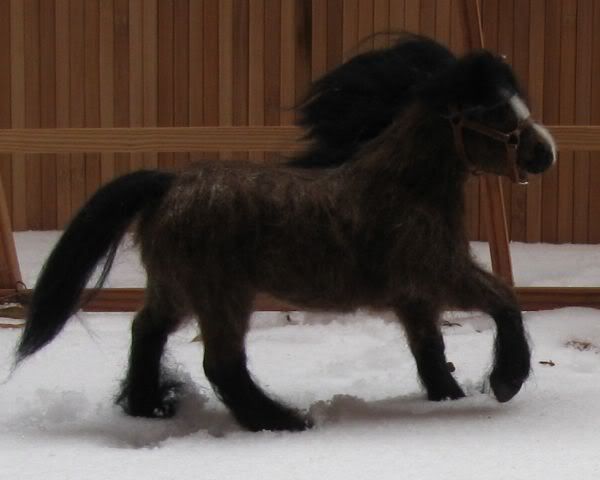
And now you finally get started!
Pick the area you want to start with and the colour(s) of hair that you need. (The head will need some precision work, so beginning on the leg might be easier)
Cover a small area with glue and then pick up some hair (Either with your fingers or with the tweezers – experience shows that you look like a werewolf in no time, no matter if you use the tweezers or not) and gently dab it onto the glue. If you still see free spaces, then dab on a bit more.
Wait a moment until the glue begins to set, then brush very lightly and gently over the haired surface. A few hairs will come off usually. Glue the next bit and add hair and so on.
When you have finished one body part, you wait a bit until the glue has fully set. Then you gently ruffle the limb/body between two fingers. (Very gently!) Usually, more little hairs will come off. If you spot a bare area now somewhere, place a drop of glue on it and dab on more hair. If all is nicely covered, you can use your small scissors to trim down the hair a bit, in case it stands up in places.
Repeat on all legs.
On the body you might want to use longer strands to create the top-coat. In any case, you do not add any of the very short hair as “undercoat”, because this would make your animal look too fat. You can use the smallest bits of hair in the middle under the tummy, though, where one often finds thin and finer hair. The rest is haired with the longer strands.
When you have finished the body, trim it with scissors until you achieve the desired outlines and surface of the hair lying on top.
The tail you start where it connects to your animal and work out toward the tailtip. Here, too, you begin on the underside of the tail working up and for a finishing touch cover the upper side with some longer hair.
Cut to trim.
If you managed to hair the face without making the eyes and snout vanish completely (if so, the little scissors help you getting them hair-free again), you might need some facial markings, like the “points” that some dogs have above the eye. Paint them onto the hair.
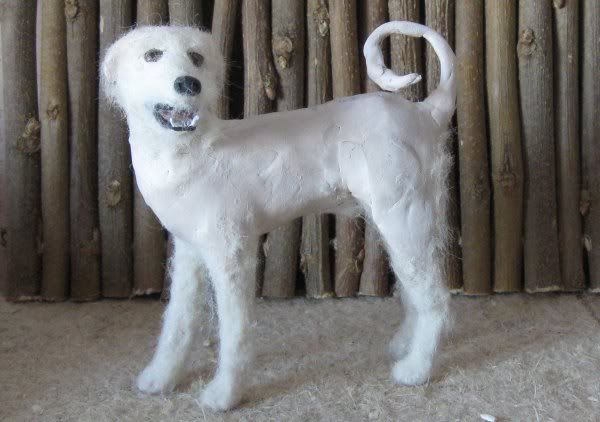
See some of the steps of hairing performed by “Abby” the Pyrenean mountain dog :
First step, getting started with the legs (I did the head before) –see how skinny he seems to be, despite the breed being a very compact dog?
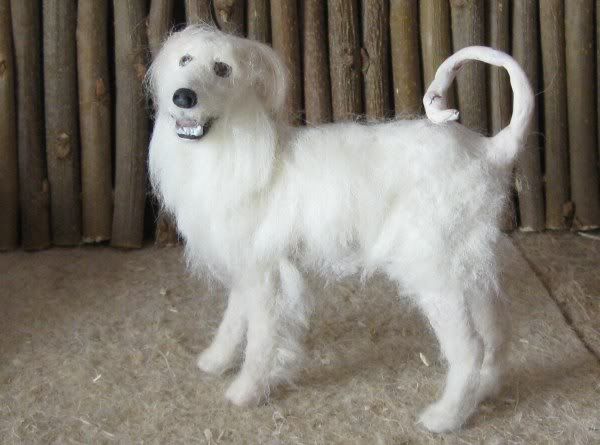
Longer hair for the body and beginning to create his “beard”:
Even more longer hair:
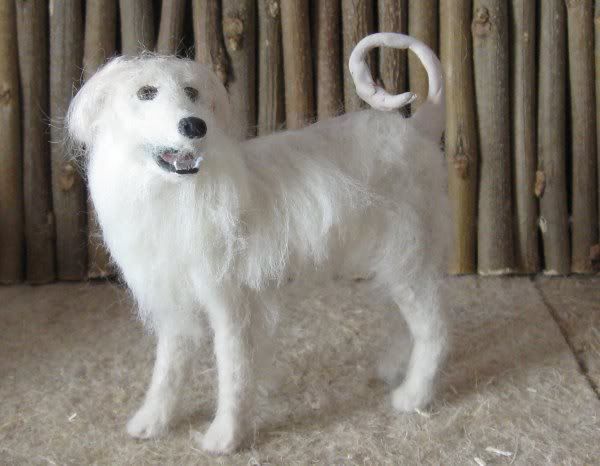
…which has now been trimmed. See also the subtle addition of a second colour above his shoulder- the breed has such markings there sometimes. He also has this colour on his ears.
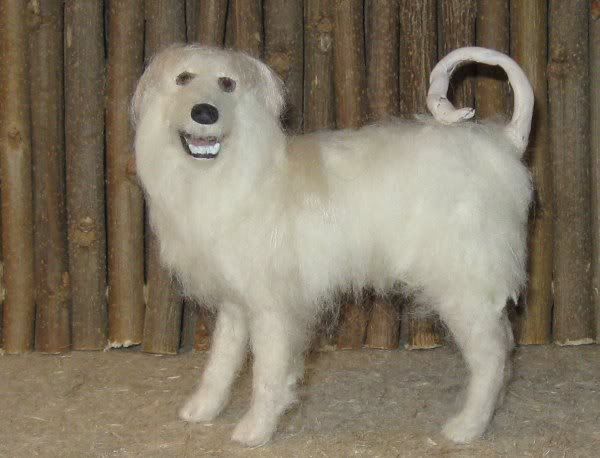
Fluffy tail in the making:
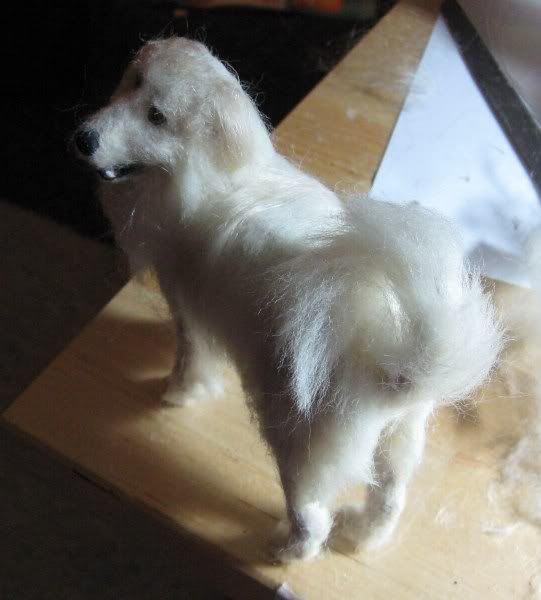
And finished:
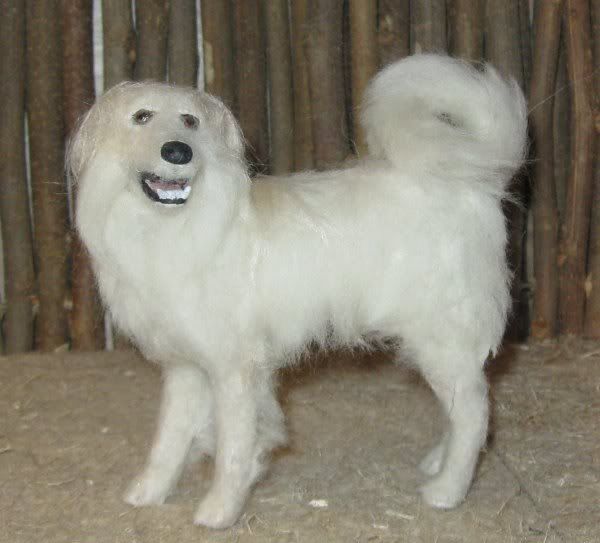
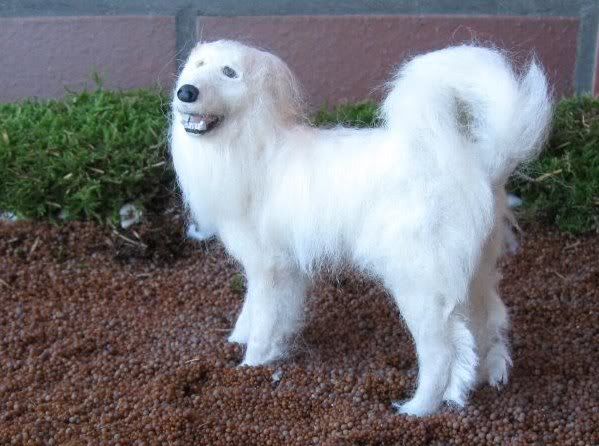
His breed also has “feathers” which have been added to his legs last.
Happy Hairings!
If you have any questions or want me to describe a step more closely, feel free to comment or email me.
