Man braucht:
- Lötzinn (dünne Stärke für kleine Eisen, dickere Stärke für größere Eisen)
- Seitenschneider oder starke Schere
- eine Zange mit glatten Backen (ansonsten ein Tuch dazwischen legen)
- einen Gegenstand zum einprägen der Nagellöcher
Zunächst schneidet man ein Stück Lötzinn ab und biegt es dann in die grobe Form eines Hufeisens.
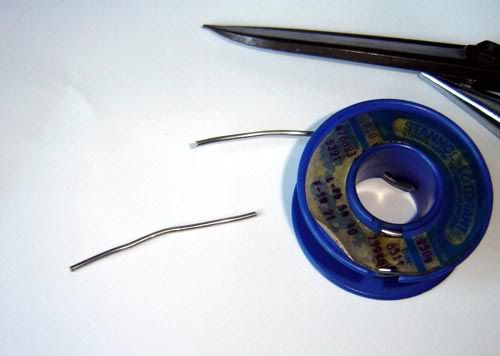
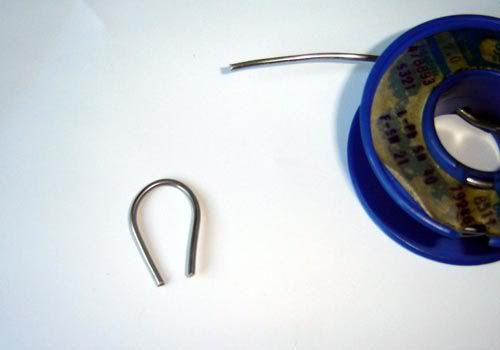
Dann drückt man es mit der Zange platt, bis die Rundung des Lötzinns verschwunden ist:
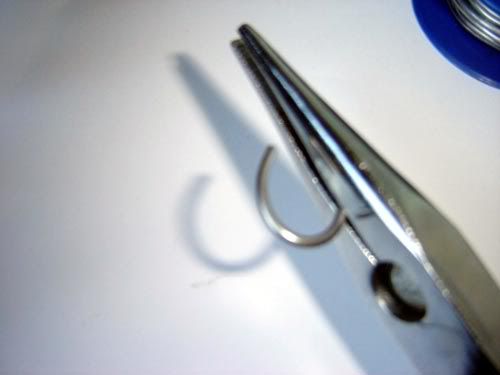
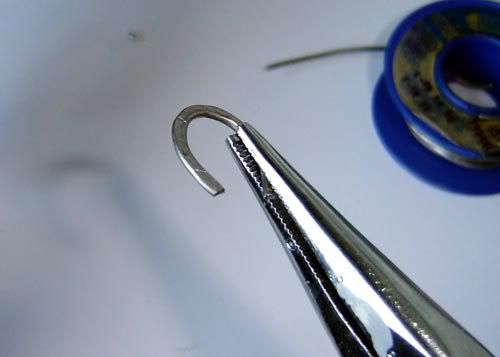
Am Huf maßnehmen und ggf. die langen Enden kürzen:
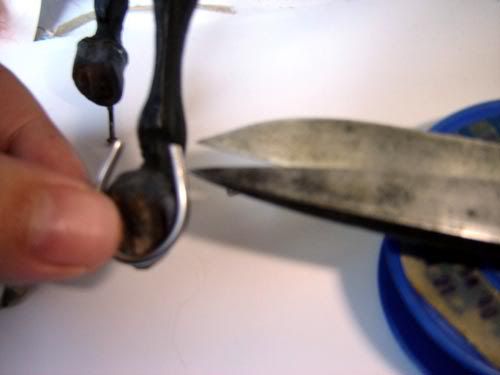
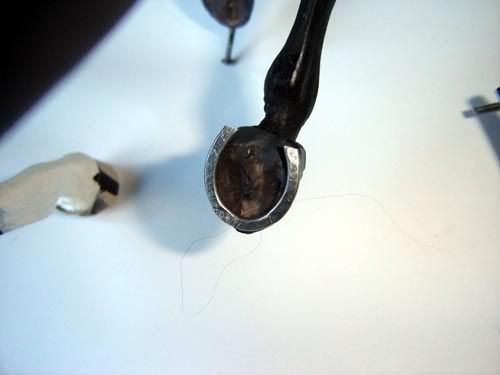
Nagellöcher einprägen - fertig!
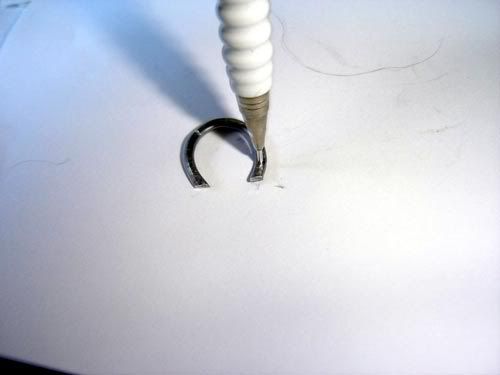
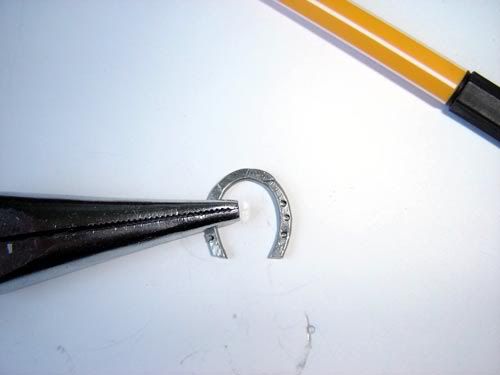
Auf den Huf geklebt sind die Eisen trotz des weichen Materials formstabil.
English Version:
The last post by Leah of Shoestring Stables about shoeing your model horses inspired me to write a quick guide about how you can make horse shoes yourself.
Materials needed:
- brazing solder (picking the diameter of the solder accordingly to horse-size, bigger diameter for bigger hooves)
- side cutters or a strong pair of scissors
- tongs that have no "pattern" on their surface. (If they have, you can lay a thick piece of fabric or leather between the metal and your horse shoe to be. Otherwise you'd get imprints of all kinds.)
- Something to punch in the nail holes (old mechanical pencil, pricker or such things)


then squeeze it flat with hobby purpose tongs (fairly easy since the solder is comparatively “soft”).


Now you gently bend it until it fits the hoof perfectly, then cut off possible long ends.


Last you add the nail holes with a sturdy pin or something like it (embossing tool might also work), which is also not that difficult due to the “softness” of the metal.


Once glued to the hoof, they are stable and not bending out of shape on their own.
