Montag, 25. April 2011

Samstag, 23. April 2011

Frühlingswetter und Pferdehandel

Es ist Frühling und endlich fühlt es sich auch so an! Prima Wetter, schon seit Tagen.
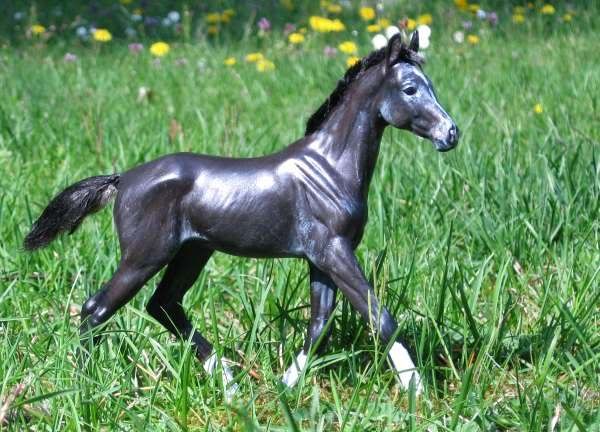
fairy frost

Vor ein paar Tagen haben wir einen Pferdetausch mit der Lowland Ranch ausgehandelt.
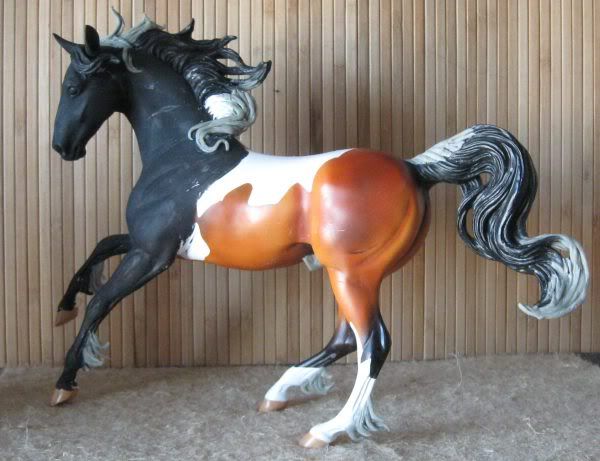
Dieser Paint-Hengst hat uns verlassen:
foxy01
Und hier sieht man, wie gut er es nun hat, er hat schon neue Freunde gefunden:
http://www.oyla13.de/cgi-bin/designs/pegasus/index.cgi?page=text&id=533876661295528161&userid=76115782

Und zu uns kam der gescheckte Warmblüter Alchemist, ein Sohn von Admant und Grand Cru.
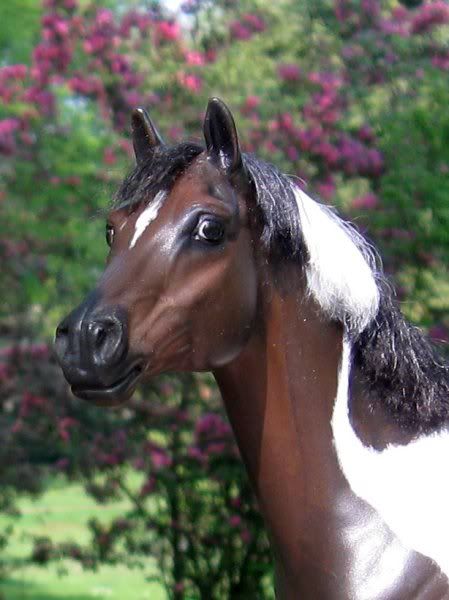
alchemist

Heute haben wir ihn dann mit anderen Pferden zusammen auf die Weide gelassen.
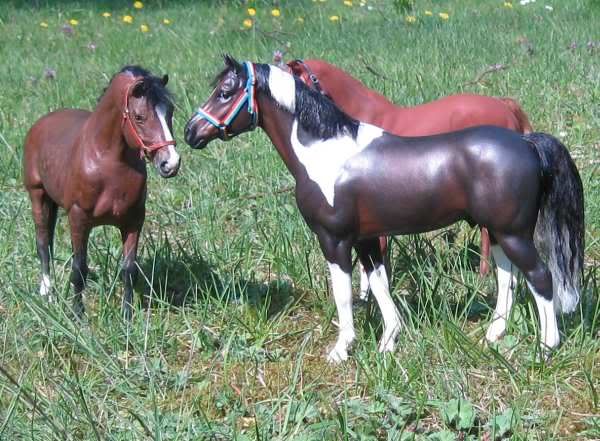
Als "Begrüßungs-Komitee" wurden Alarich und Red Stag ausgewählt, denn beide sind sehr ruhig und gelassen:
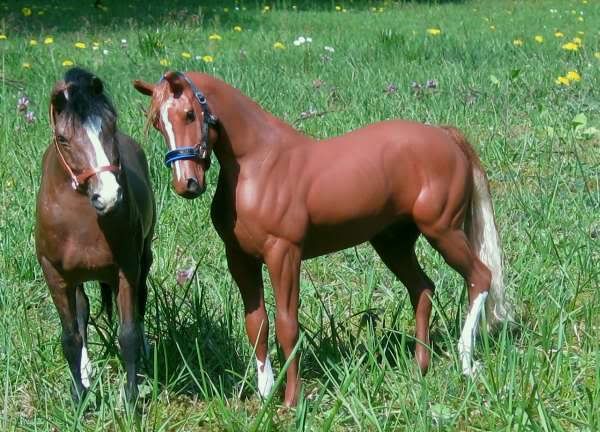
alarich und red stag

Mal vorsichtig ranpirschen, aber immer auf den Fotografen schielen. *g*
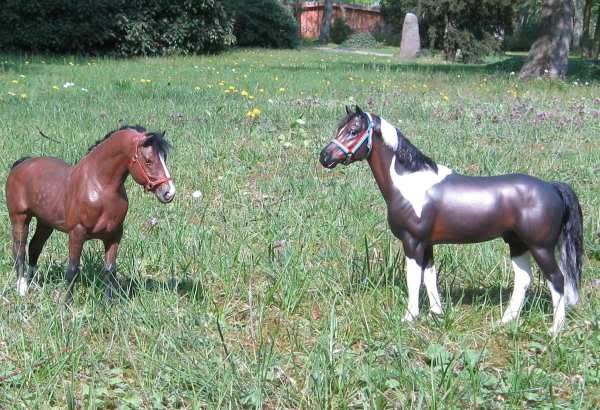
alarich und alchemist

Allgmeines Geschnüffel:
alarich, alchemist, red stag

alarich, alchemist, red stag

Auch die beiden Hengste verstehen sich gut, sie kennen sich ja auch noch aus ihrem alten Stall.
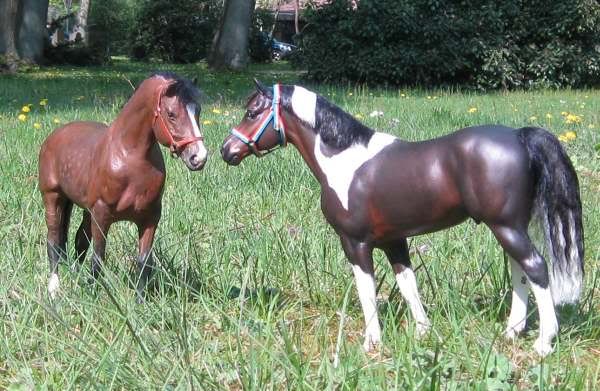
alarich und alchemist

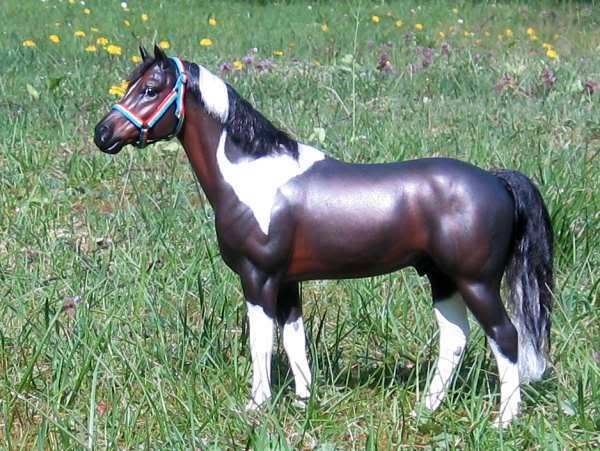
Alchemist noch mal alleine:
alchemist

alchemist

English Summary:

Spring weather and horse trades!
We have this awesome warm weather for days now, so it was high time for outdoor pictures. The foals enjoy the pasture muchly, here represented by Fairy Frost.

A few days ago, I completed a horsetrade with Ute from the Lowland Ranch. I sent my little Paint stallion their way and they traded us a gorgeous Pinto warmblood stallion. Like this we both got a horse that matched our herds better and both are happy.
The stallion that I got was named Alchemist and he's a son of Admant and Grand Cru
Above you can see him say "Hi" to some of his new buddies.
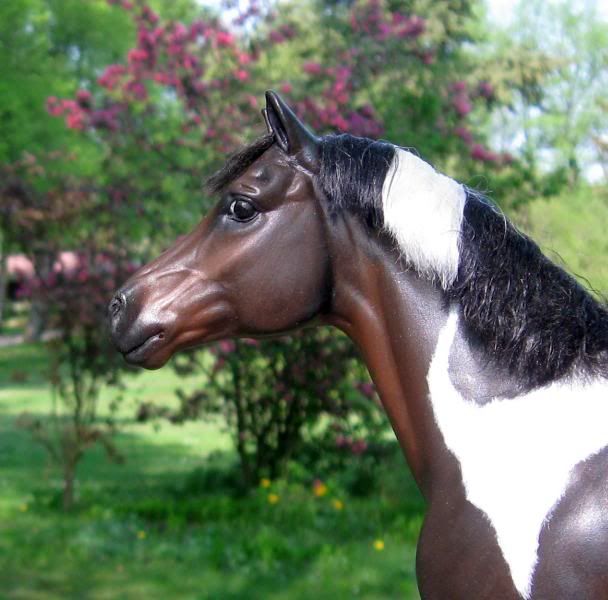
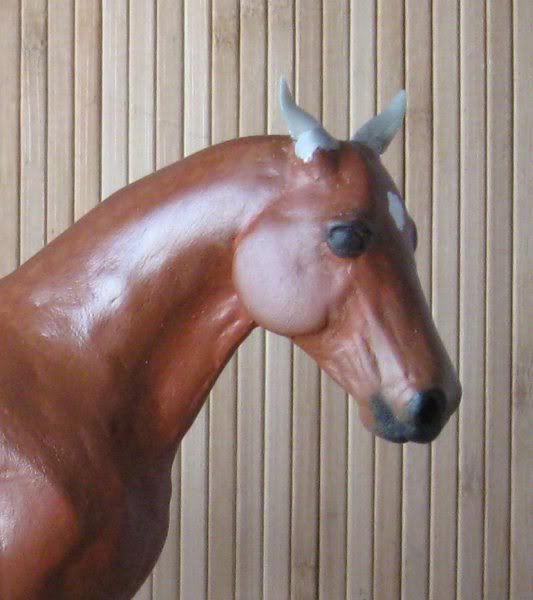
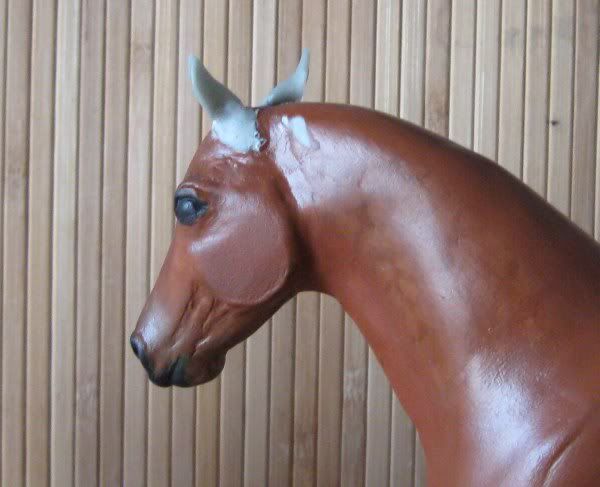
I was in need to do some retouching on him and some new hair he got, too - and while I was at it, I tried the "snout wrinkles" turorial on him, too. The result you see in the first portrait of him - compare to the flatsnouted OF-Idocus.

Sonntag, 17. April 2011

Hyacinth

Hyacinth ist soweit fertig, hier sind erste Bilder.
Hyacinth is about done, here are first pictures of her.

Hyacinth

Hyacinth

Hyacinth
Gar nicht so leicht, Pferd festhalten und fotografieren. *g*

Samstag, 16. April 2011

Bilder von heute

Ein müdes Pferd:
snoozy Cleo
(Cleo)

Ein aufmerksames Pferd:
Libelle Portrait
(Libelle)

Und ein sehr waches Pferd:
Grailblazer02
(Grailblazer)

English Summary:
Pictures of today: A sleepy horse, an interested horse and a very alert one.

Sonntag, 10. April 2011

In Arbeit

Hier mal wieder ein paar "In Arbeit" Bilder.

Hyacinth bekommt gerade die Details gemalt:
hyacinth in progress
(Ich liebe ihre neuen Ohren!)

Percy bekommt seine erste Farbschicht:
Percy in Arbeit
(Und ich finde immer noch Unebenheiten zum Ausbessern...!)

Mielahis ist fertig was das Modellieren angegeht- nun muss er geschmirgelt und grundiert werden:
Mielahis WiP

English Summary:
Finally some in progress pics again!
Here you see Hyacinth who is getting all the small details painted currently and loves to show off her new ears.
Percy got his first paint layers but I still found some little dents I have previously overlooked and need to tend to them.
Mielahis is done as far as the sculpting part of it is considered- now he needs some sanding and prepping before painting.

Dienstag, 5. April 2011

Ohrtransplantation

So, ein paar Ohren an seinem neuen Platz *g* :
new ears

new ears
(Wird natürlich noch geglättet)

English Summary
One set of ears on its new rightful place to be- much better like this, no? *g* Some finetuning needed then all will be well.

Sonntag, 3. April 2011

Nightmare!

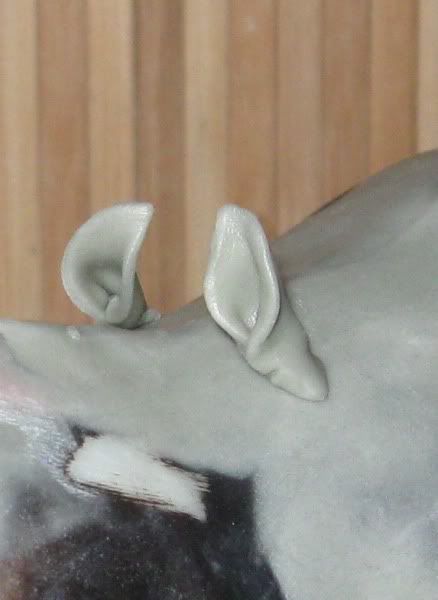
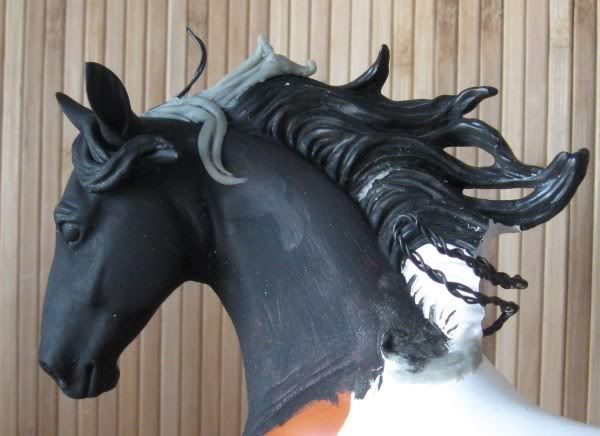
Zum einen habe ich das Tutorial für das Modellieren von Ohren ausprobiert, das Two Fishies hier gezeigt hat: The better to hear you with (my dear) und dabei ist unter anderem das hier heraus gekommen *g*
ears
ears

Zum anderen fand ich vor einer Weile eine günstige Breyer Magnolia:
Photobucket
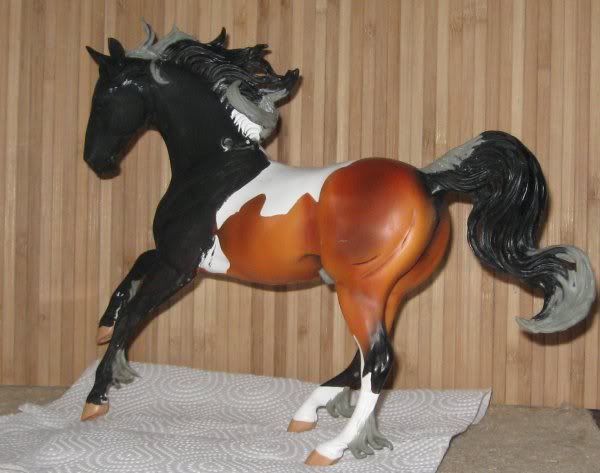
Bevor mich nun alle für verrückt erklären - das ist DAS ideal Ausgangsmodell, um Mielahis daraus zu verändern.
Hier der Beweis:
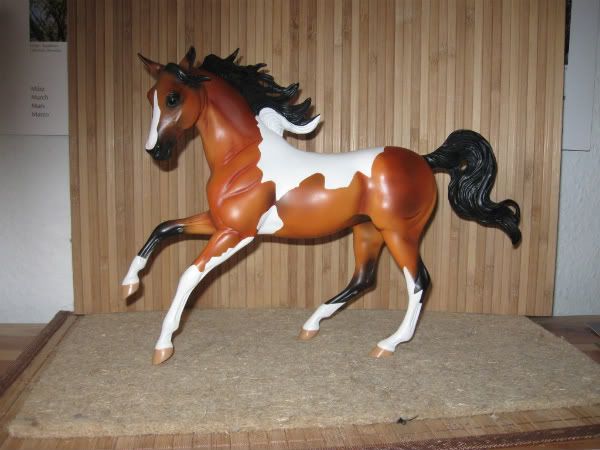
mielahis wip

mielahis wip

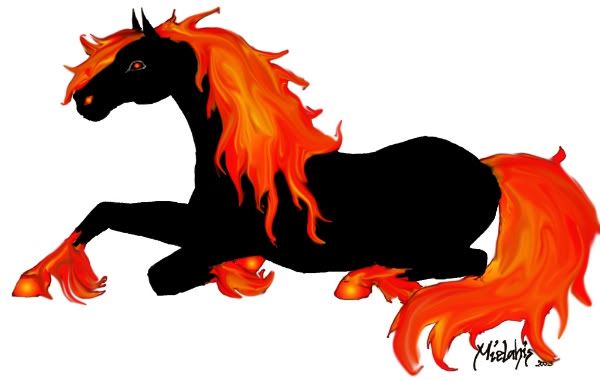
Mielahis
Mielahis ist gespannt.*g*

English Summary:
I tried out Two Fishies' tutorial about sculpting ears today ( The better to hear you with (my dear) ) and above you see some of the results. *looks innocent*

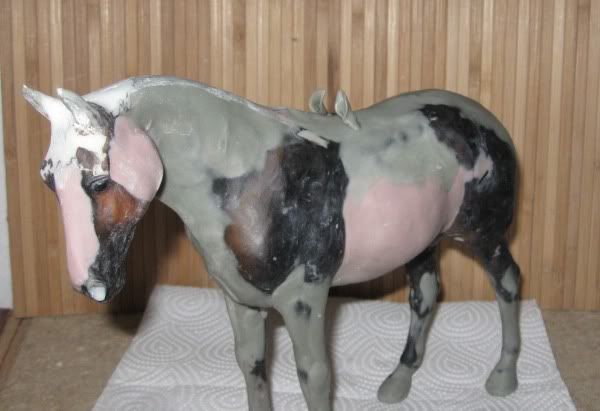
And I also managed to find a cheap Breyer Magnolia a while ago - while I do not think that she makes a very realistic horse, she is excellent raw material to make a 3D version of Mielahis out of her. Shown above first sculptings. He is partially blackened to help the imagination along a bit.

Freitag, 1. April 2011

Hufeisen selber machen

Inspiriert von dem Hufeisen-Eintrag der Shoestring Stables zeige ich eine Möglichkeit wie man Hufeisen selbst machen kann.

Man braucht:
  • Lötzinn (dünne Stärke für kleine Eisen, dickere Stärke für größere Eisen)
  • Seitenschneider oder starke Schere
  • eine Zange mit glatten Backen (ansonsten ein Tuch dazwischen legen)
  • einen Gegenstand zum einprägen der Nagellöcher

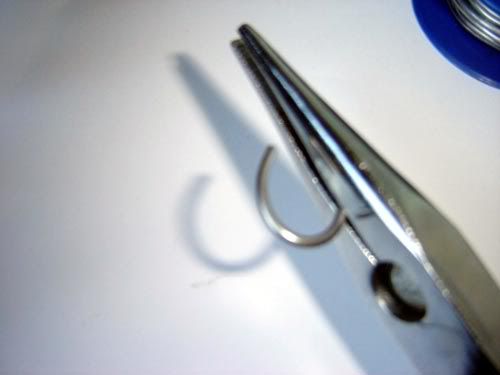
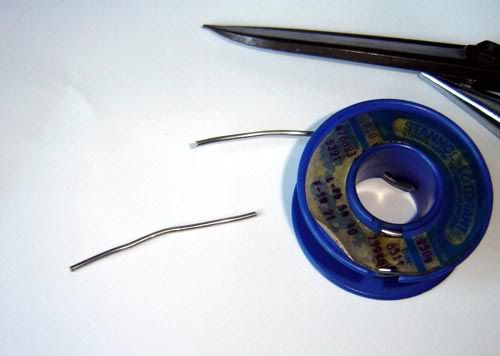
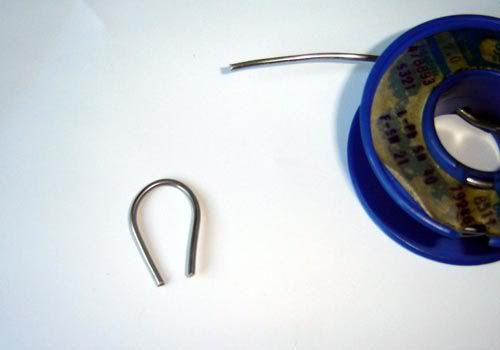
Zunächst schneidet man ein Stück Lötzinn ab und biegt es dann in die grobe Form eines Hufeisens.
making horseshoes
making horseshoes

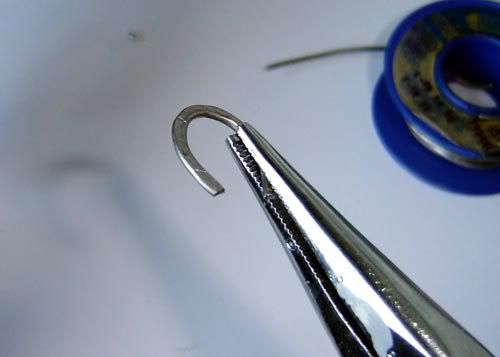
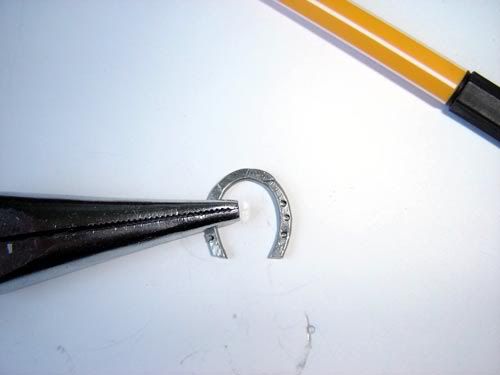
Dann drückt man es mit der Zange platt, bis die Rundung des Lötzinns verschwunden ist:
making horseshoes
making horseshoes

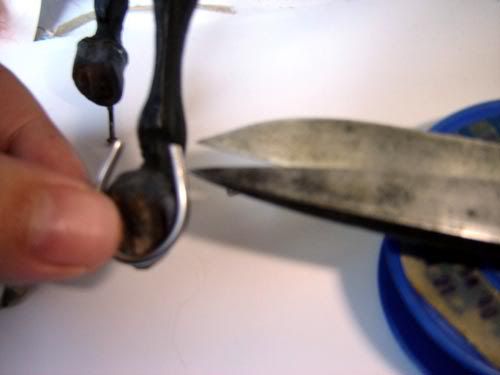
Am Huf maßnehmen und ggf. die langen Enden kürzen:
making horseshoes
making horseshoes

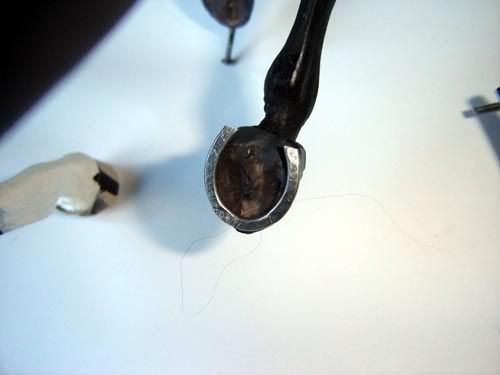
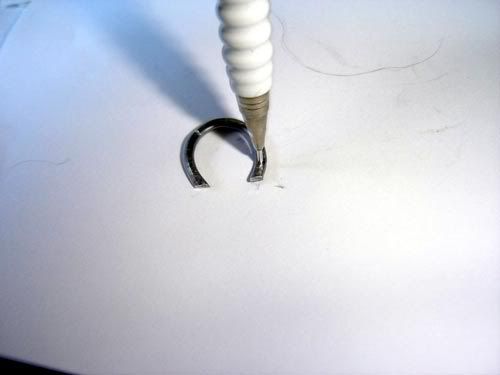
Nagellöcher einprägen - fertig!
making horseshoes
making horseshoes

Auf den Huf geklebt sind die Eisen trotz des weichen Materials formstabil.

English Version:
The last post by Leah of Shoestring Stables about shoeing your model horses inspired me to write a quick guide about how you can make horse shoes yourself.

Materials needed:
  • brazing solder (picking the diameter of the solder accordingly to horse-size, bigger diameter for bigger hooves)
  • side cutters or a strong pair of scissors
  • tongs that have no "pattern" on their surface. (If they have, you can lay a thick piece of fabric or leather between the metal and your horse shoe to be. Otherwise you'd get imprints of all kinds.)
  • Something to punch in the nail holes (old mechanical pencil, pricker or such things)
You cut off a piece, form the rough shape of the horse shoe, making horseshoes making horseshoes
then squeeze it flat with hobby purpose tongs (fairly easy since the solder is comparatively “soft”).
making horseshoes making horseshoes
Now you gently bend it until it fits the hoof perfectly, then cut off possible long ends. making horseshoes making horseshoes
Last you add the nail holes with a sturdy pin or something like it (embossing tool might also work), which is also not that difficult due to the “softness” of the metal. making horseshoes making horseshoes
Once glued to the hoof, they are stable and not bending out of shape on their own.